
The first day of Fall was on Sept. 22 and with Fall comes some creative crafting projects.
Some craft projects being completed in the local schools were submitted to the Record-Herald for the community to learn about. Although they are being done in some grade levels, these projects could be done at home as well, especially by those doing remote learning.
Those who have fun with the submitted craft projects are welcome to submit photos to the R-H that could be printed in the newspaper or posted online! Those who want to submit craft ideas are also welcome to email them. Submit photos and/or ideas to journalist Jennifer Woods at [email protected].
——
Apple Collage, submitted by Miami Trace Elementary Art Educator Linda Bernard
This particular craft is done with the Miami Trace Kindergarten.
Supplies:
-a piece of paper
-green and brown crayons
-red construction paper
-glue
First, draw an apple on the sheet of paper. Then, color the stem and leaf of the apple.
Next, tear up the construction paper.
The construction paper can now be glued on the apple. Once the project is complete and the glue dried, it can be cut out or the background can be decorated, and then it can be hung!
——
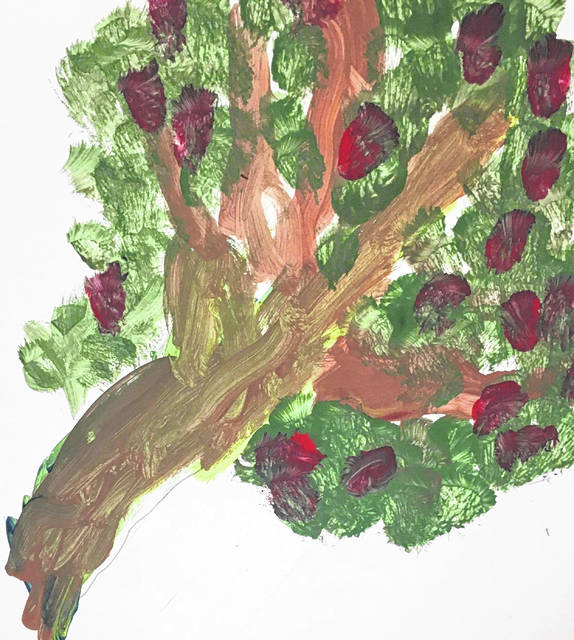
Painted apple tree, submitted by Washington Court House City Schools Cherry Hill Primary Art Educator Rebecca Pope
This project is done with the kindergarten class.
Supplies:
-non-fiction book about apples or video focusing on the life cycle of apples
-painting paper or board
-paintbrushes
-pencils
-paint (liquid Tempera is used for the class project, but other paints will work), need primary colors (red, yellow and blue)
-water cup, water and paper towel for rinsing and wiping brushes
-an area to paint in that is easy to wipe up.
First, read the non-fiction book about apples or watch the video. The kindergarten class read “An Apple’s Life,” by Nancy Dickman.
Next, write your name on the paper (or paint board), then lay your hand on the paper with the fingers stretched out. Trace around your hand and arm (they become the trunk and branches of the apple tree).
Once the hand and arm are drawn, mix brown paint with a lot of yellow, a little bit of red, and a tiny bit of blue. Now paint the tree. Once painted, clean the brush out.
Mix green paint with some yellow and a little bit of blue. Once mixed, make the leaves by “pouncing” the brush over the limbs and in the space around them. (Pouncing is painting by moving the brush in an up-and-down motion making dotted textures). Once the leaves are done, clean the brush.
With red paint, paint little circles to make the apples on the tree.
Clean the brush for the final time and clean up the painting area.
Now you have made an apple tree with the shape of your arm and hand!
——
Sight drawing, submitted by WCH Cherry Hill Primary Art Educator Rebecca Pope.
This project is done with first-grade and up.
Supplies:
-pencil and eraser
-paper
-table or drawing surface
-a small toy, stuffed animal or other item of interest
-(optional) colored media such as crayons, markers, colored pencils or paint
First, write your name on your paper.
Set the toy/item you want to draw directly in front of you, and spend some time staring at it. Notice how it is shaped, where lines are on the edges and lines inside the object, and any other details.
Decide if you are drawing starting from the top, middle or bottom of the item.
Let your eye travel over the outside edge while making your pencil create that same shaped line on your paper. Try to do this without looking down at your paper.
While only looking at your paper once in a while, continue to work to make your hand and eye work together. You follow the lines and shapes with your eyes while your hand makes those lines and shapes on the paper. You can erase and adjust the drawing if needed.
Once you have drawn your toy/item, you can use your imagination to add a background. You can fill up the Negative Space (white space that is blank) showing where your toy is, and what is going on.
You can leave the drawing as a line drawing or finish by adding colored media or value/shading with your pencil.
——
Magazine Bowls, submitted by Washington High School Art Educator Kelly Howley
Supplies:
-magazine pages
-tape
-Mod Podge
First, fold the magazine pages into strips then tape the strips together so they form one, long strip.
Next, tightly roll the strip into a disc, and then shape into a bowl.
To keep the shape of a bowl, cover with the Mod Podge.
——
Coloring Page Bookmarks, submitted by Washington High School Art Educator Kelly Howley
Supplies:
-adult coloring pages (can be found online and printed)
-colored pens or pencils
-sturdy colored or decorative paper
-an adhesive such as glue, rubber cement, etc. for mounting
-hole punch
-yarn
First, once the coloring pages are obtained, cut those pages into bookmark-sized pieces (or desired size for the bookmark).
Color one of the bookmark pieces, then mount onto the colored or decorative paper. Once dry, punch a hole in the top.
The bookmark can be laminated for longer use.
Next, create a decorative tassel out of the yarn and attach it through the hole in the top of the bookmark.

